We had a delicious Standing Rib Roast for our family Christmas Dinner and I am sharing the recipe and my notes on this if you would like to give it a try. The recipe that you can download below says Slow Roasted Prime Rib. Most recipes say that a standing rib roast can be called Prime Rib but I am a stickler for details, I believe for it to be called Prime Rib, you have to use a cut of beef that is labeled Prime, which is not always easy to find and is always pretty expensive. One of the key things to get the Prime status is for the meat to have very good marbling, that is lots of small traces of fat all across the meat. This renders out during the cooking and makes the meat tender and that is why it can command that premium price. The layer of fat at the very top of the roast, the fat cap, is also important. Don’t trim it off. But the marbling across the meat is the biggest difference in the various grades the meat is given.
The 9.1 lb. roast that I served for our Christmas dinner cost us $46 and it was tender, moist, and delicious! How did I do that? The two keys were getting a very good price on a decent not great, cut of beef that was labeled Choice, and then using a slow roasting Reverse Sear approach to cook it. Using a cut labeled Choice is more accurately called a Standing Rib Roast and that is what I have in the title line of this post. Standing means that the roast has bones that let it stand up in the roasting pan. Those bones can be part of the roast, but they can also be cut off and tied back on which is what I did. The reason for that is in the notes below.
How Do You Get a $148 Roast for $46?
We prefer meats from Safeway as having the best meats of the three supermarkets in Olney, MD. Every year for the major holidays Safeway puts their Beef Rib Roast, Bone In on sale. That cut has a usual sticker price of $15.99/lb. but the sale reduces it to $9.99 for about a one-week period before the holiday. But anyone who puts their phone number in when they check out is eligible for additional discount coupons if you check the Safeway website. It takes extra effort to go online and download the coupons for additional savings, but it can really be worthwhile. Several years ago we found this additional coupon online that dropped the price down to $4.99/lb., and now we know that it will be there for every holiday sale. The roast we had was 9.1 lb. and the sticker price, in round numbers, was $148. We paid $46 for it.
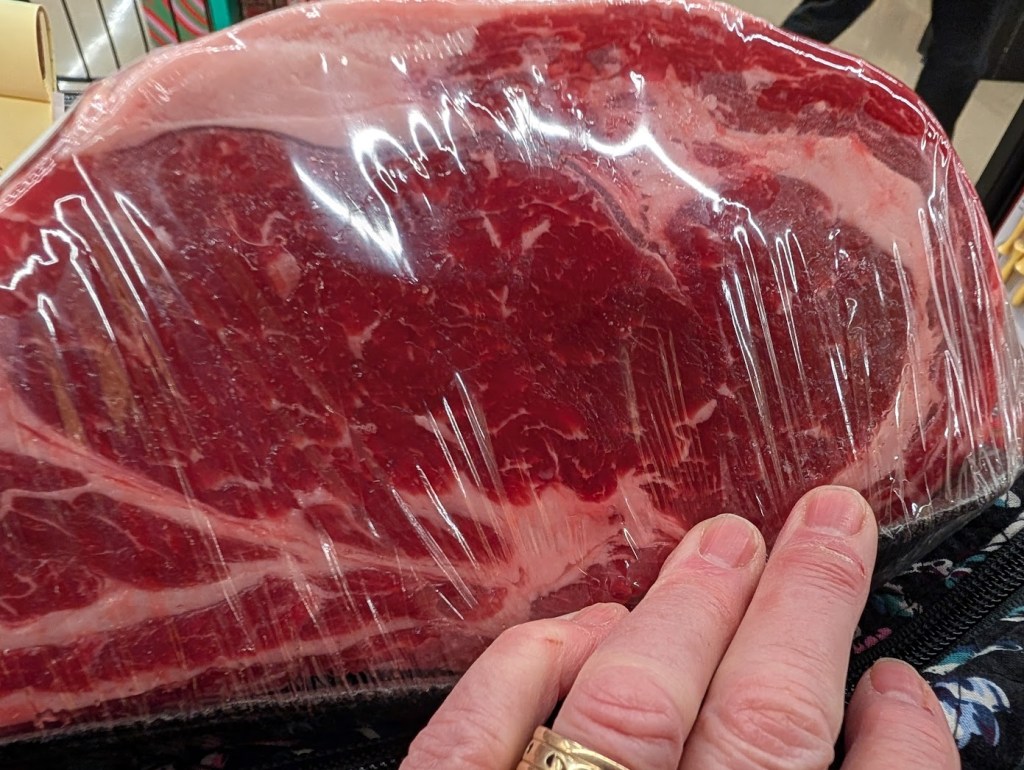
This cut is a lower grade of Choice and generally does not have much marbling and is usually not very tender. Beth shopped to find one that had the best marbling and as shown in the picture, this one was pretty good for a Choice grade.
Slow Roast and Reverse Sear Made A Big Difference
Most recipes call for Standing Rib Roast to be cooked at 325°, sometimes with the oven at 450° or 500° for 15 minutes initially to give the meat a sear. Having a crust on the outside of the roast is one of the things most people really like about this kind of roast. This approach is good for very good cuts of beef, i.e. expensive, but can produce meat that is not very tender and juicy. Not what you want for a nice holiday meal.
The slow roast, reverse sear technique is a much better way to get tender and moist slices that are very flavorful. The slow roasting breaks down the connective tissues and makes it much more tender. This approach cooks the roast slowly at 250° for as long as it takes to get to a desired internal temperature, 120-124°F for rare, 128-130°F for medium-rare, or 132-135°F for medium and medium-well. It then rests for 30 minutes to let all of the juices retract into the meat so it is very moist and juicy. The roast then is seared at high heat, at least 500°, for about 10 minutes until it reaches an internal temp of 128-130° for rare, 134-136° for medium-rare, or 140-144° for medium and medium well. This gives it the nice rich color and crust that make Standing Rib Roast delicious. It should rest again for 10 minutes after the reverse sear before being carved.
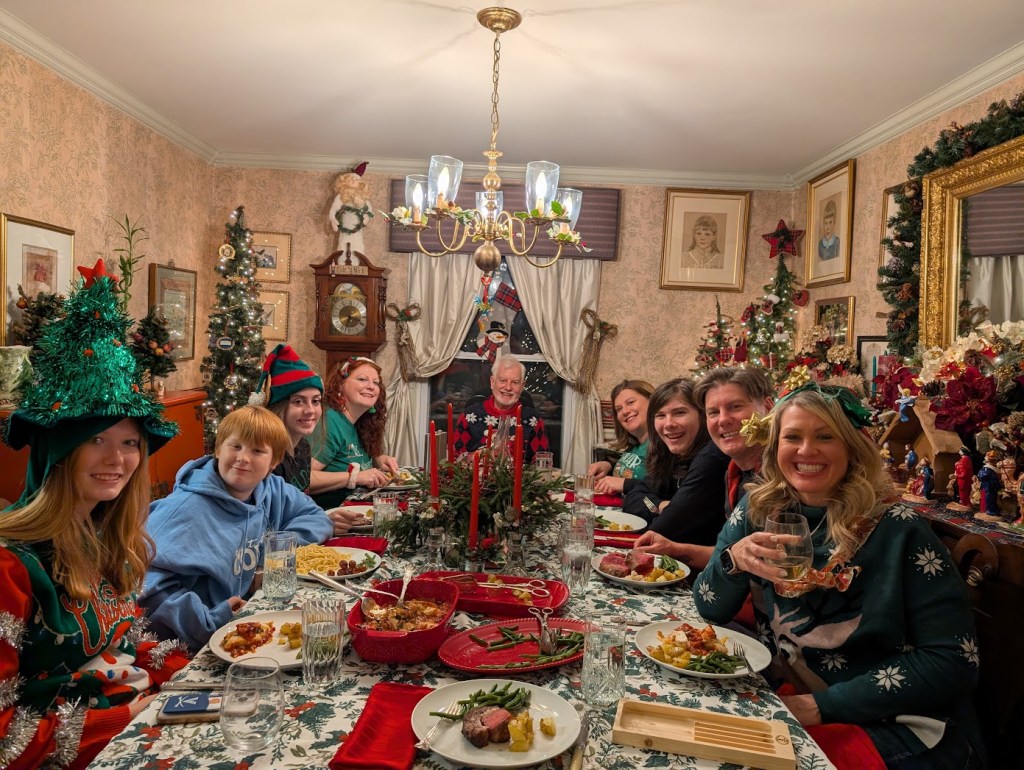
The picture shows the rare to medium rare slices on two of the plates that evening.
You can download the recipe I used below. Below that are some additional notes from the cooking process that you might find helpful
Notes:
- The biggest thing with the slow cook, reverse sear process is you CANNOT use minutes per lb. for the cooking. The initial slow cook needs to be to a target temperature for how you like your beef, regardless of how long that takes. Both stages took longer for me than the recipe indicates. Give yourself lots of time for the slow cook to get to the needed internal temp and still have the roast carved and on the table in time with the other dishes that are being served. For your first effort I suggest starting a good 30 minutes before your calculation for how long it should take based the size of the roast says. It can rest for a while wrapped in foil and/or in a 100° oven if it gets done more quickly than you expected, which is unlikely. Raising the oven temperature to speed up the cooking defeats the whole purpose of what you are doing.
- I used a ThermoPro TempSpike for the initial slow cook because it is wireless so I don’t have any cords running in and out of the oven. You do not want to be opening the oven and letting the heat out multiple times to check the temperature with an instant read thermometer. You need a tool that stays in the roast for the cooking process and lets you see on your phone when it gets to the desired temperature. I did my Reverse Sear at 600° so I switched to a ThermoPro Digital WiFi Meat Thermometer because the TempSpike should only be used for cooking below 450°.
- The meat cooks with the fat cap up, so you do not need to trim any of the fat off the roast. Between the two cooking stages that fat will render down and add flavor and moistness to the meat.
- I was very comfortable cutting the bones off the roast and tying them back on. Safeway is happy to do it at no cost and to French the bones, which means they trim all the meat off around each bone for the top couple of inches for appearances sake. We had a very nice lunch from the three bones that we had, so cutting meat off for appearances sake does not make sense to me. The recipe calls for the roast to be liberally seasoned on all sides with kosher salt and black pepper, so cutting the bones off lets you season the side that are up against the bones as well as both sides of the bones. It also makes final carving much easier and faster. Tying the bones back on adds flavor to the roast and is recommended. I put kosher salt and already ground black pepper in a small bowl and mixrd them together thoroughly and then sprinkled them liberally on every side.
- Doing the above step 24 hours before you cook the roast and having it sit uncovered overnight in the refrigerator helps tenderize the meat and adds to the flavor. The meat does not need any more salt or pepper the next day before going into the oven for the slow cook stage.
- Taking the roast out of the refrigerator 2 hours before putting it in the oven lets it get close to room temperature but is not long enough to have any risk of bacterial infection. The slow roast time will be much longer if the center of the roast is not close to room temperature when you put it in the oven.
- I put the roast in a disposable aluminum roasting pan on the heavy duty V rack that I use for roasting the Turkey at Thanksgiving.
- During the 30 minute rest when it was out of the oven and before the Reverse Sear, the internal temp went up 12° so it was continuing to cook while resting.
- The recipe calls for the Reverse Sear to be done in a 500° oven for 5-10 minutes. We had other dishes we were cooking in both of our ovens, and I wanted a higher temp, so I did the Reverse Sear on my Kamado grill where I could do it at 600°. Many gas grills can also get that high, but I think the hardwood charcoal also adds a little additional flavor. I lit it an hour before I wanted to put the roast on, 30 minutes before taking it out to rest. That let the ceramic get fully up to temperature. If you do the reverse sear on a grill, I recommend leaving the roast on the rack in the roasting pan so the fat does not fall into the fire and flame up. Using the temperature probe let me take the roast off just as soon as it hit the target temperature.
- I let the roast rest for 4 minutes before carving it. I did not get any significant juices on the carving board, but I noticed some on the platter when I put the platter on the table. As noted above, the meat was very moist and juicy, but I think a 10 minute rest would be better before carving.
- Being able to quickly cut the butchers twine and remove the bones in one piece made carving much easier. With three bones, trying to carve it so three people got a bone in slice would have been very difficult. I did the slices about ¾” thick and then cut them in half so our guests could have lots of choices on how much meat they wanted and come back for a small piece if they wanted seconds (or thirds).
- Talk to your butcher at Safeway. He or she will tell you when they will have the Rib Roast Bone In on sale.
My wife also made Poached Cod for the fish lovers in our family. We accompanied the meal with three nice wines from Bordeaux, all $20 or less. Chick out my blog on those wines at https://billwinetravelfood.com/2024/12/30/a-bordeaux-celebration-for-our-2024-family-christmas-dinner/
I hope you give this recipe a try and I welcome your feedback on this post and on the wines.

Wow! This is so different from all those years I made “prime rib “ for John at Christmas. He would have loved trying out a new way with the once a year meat!
LikeLike