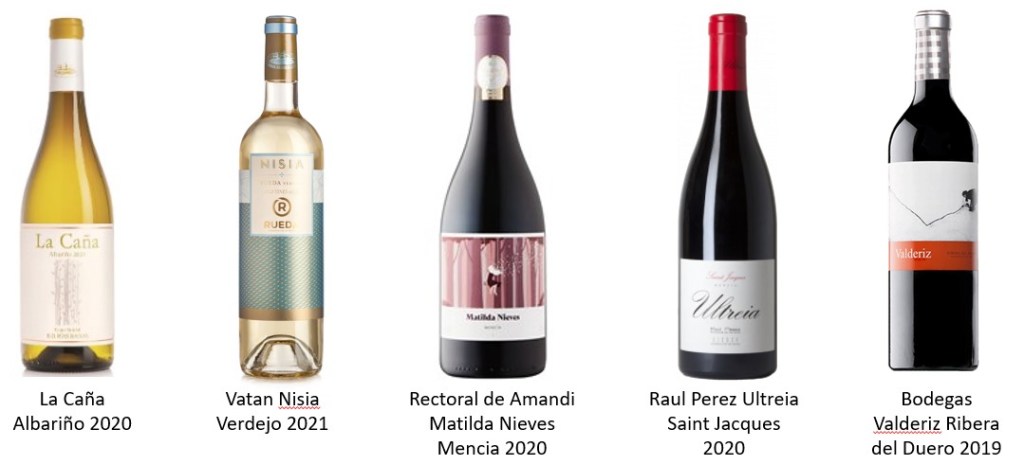
In my recent post of Bordeaux 2nd Wines I said I would cover some other Bordeaux wines that I thought were very good quality at a very good price. This post is on Chateau Mauvesin Barton which I think is the clear favorite for a Bordeaux Best Buy. About a year ago at a family gathering I did a tasting of four different Bordeaux wines that were under $30 and the Mauvesin Barton was the clear winner.
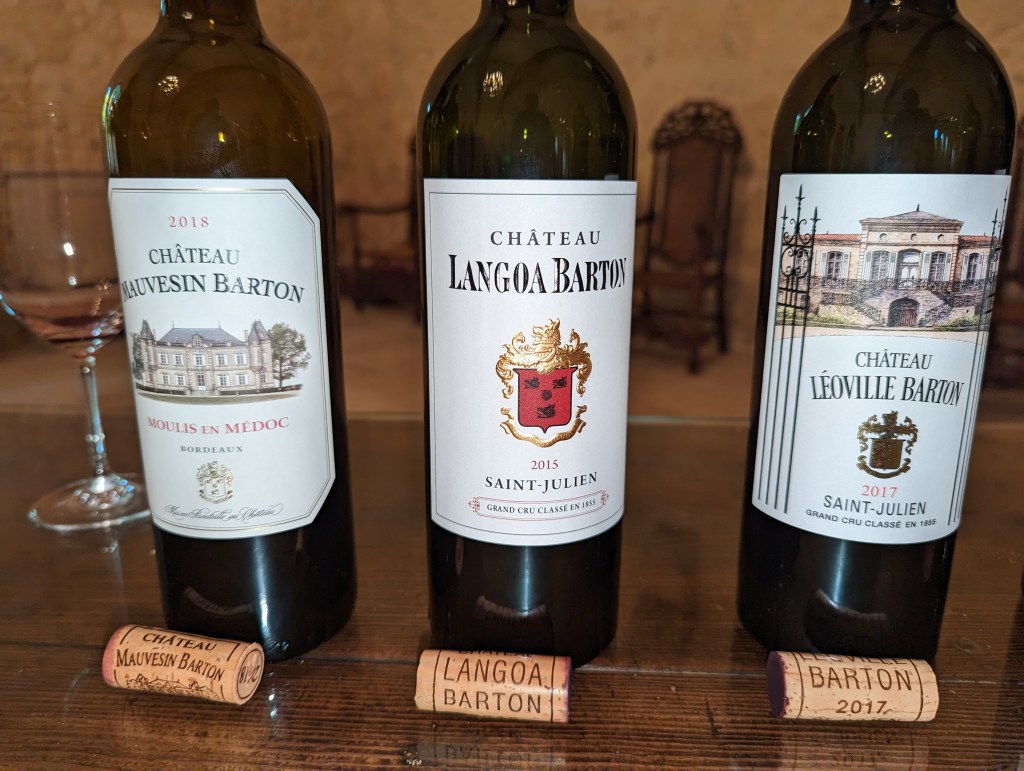
Chateau Mauvesin was purchased by the Barton family in 2011 and they have invested significantly in the eleven years since then to improve the vineyards and the wine making process at that vineyard which had fallen on hard times and was not in very good condition at the time of the sale. This is now the third Bordeaux vineyard owned and operated by the Barton family. The oldest of their vineyards is Leoville Barton which was started in 1722 and was named a 2nd Growth in the famous 1855 classification of the best 60 chateau in Bordeaux. In 1821 the Bartons purchased Chateau Langoa which was across the street from them and renamed it Langoa Barton. It was named a 3rd growth in the 1855 classification.
The regulations on Bordeaux wineries are pretty confusing. The regulation that covers what a Chateau that was in the 1855 classification can do when it purchases another chateau or additional vineyards is straight forward. Leoville Barton is in the St. Julien AOC (Appellation d’Origine Controllée). There are 60 AOC in Bordeaux which provide geographical indications for wines, cheese, and other products. When they bought the Langoa estate, since it was also in St. Julien, they could have put it all under the name Leoville Barton. They chose not to and to keep Langoa Barton a separate entity and that enabled it to get the 3rd growth designation.
What is important here is that If the Barton family bought any other vineyards that were located in the St. Julien AOC, regardless of the quality of that vineyard, they have the right to call the wine made from that newly purchased vineyard Leoville Barton and price it at that level. The Bartons did not do that when they purchased Chateau Langoa two hundred years ago showing they are very committed to having each property stand on its own. In the long term, if the wines being sold under that name become lower in quality because they are including grapes from a low-quality vineyard that was purchased, people would buy less of that wine and the market would drive the price down. But that can take years. Fortunately, the top chateaus are highly sensitive to shipping a product that meets their historical very high quality and would not do that.
Just recently La Tour Carnet, a classified growth, purchased an excellent Cru Bourgeois, Chateau Caronne Ste Gemme. It is expected that Caronne will be incorporated into La Tour Carnet. The Caronne wines have been outstanding so the quality of the La Tour Carnet will not go down. But a really great wine that was available for under $25/bottle will now be part of a wine that sells for over $50/bottle.
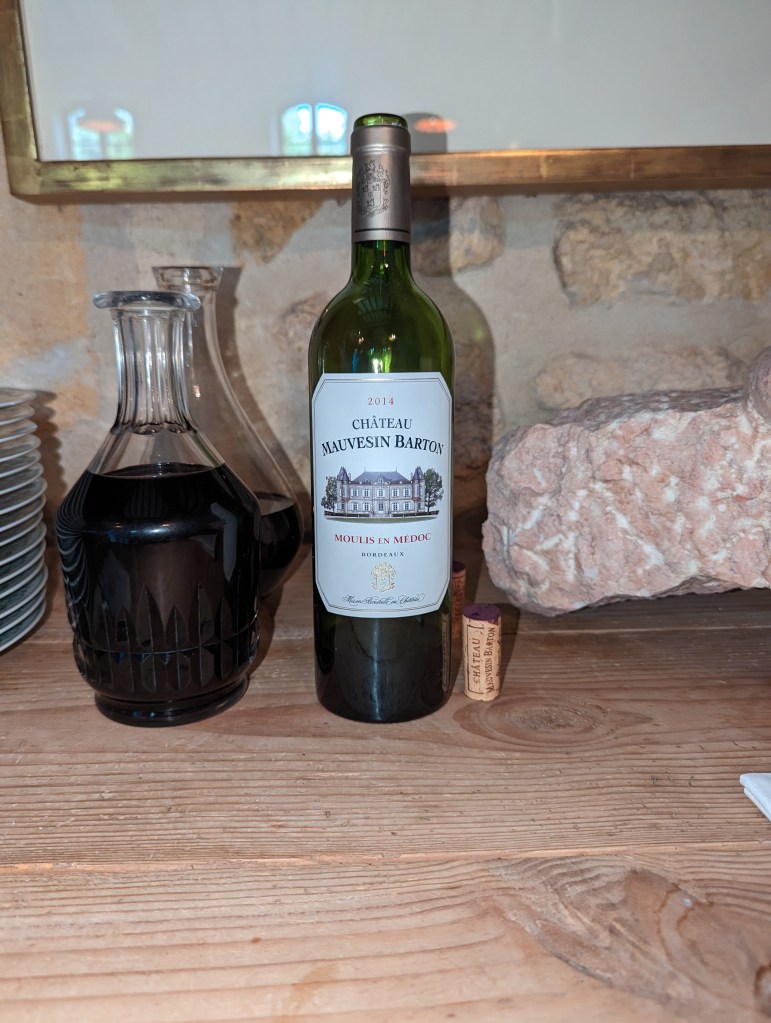
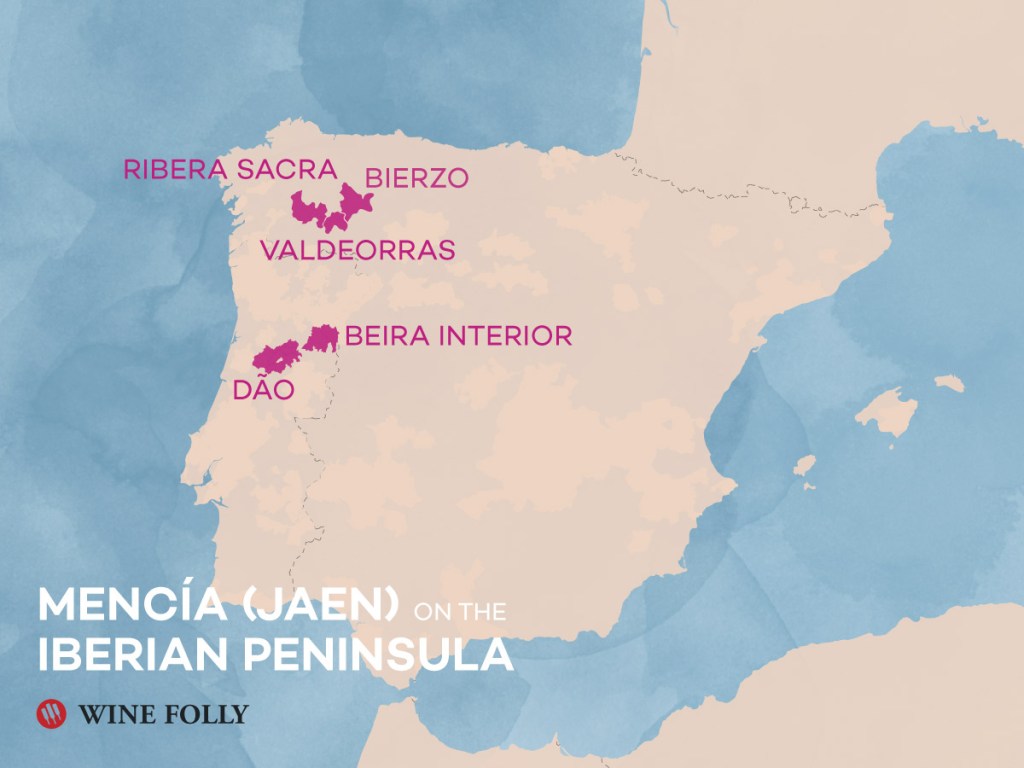
Chateau Mauvesin is situated in the “Moulis-en-Médoc” appellation, to the north of Bordeaux, on the left bank of the Gironde estuary. Because it is in a different AOC, it had to be kept as a separate entity. But when the Barton family bought it and made the investments to bring it up to the standards that they want for any wine that carries their name, the result was an excellent wine at a very attractive price. This wine typically sells for under $30, and on sale it can be under $25. I found vintages back to 2015 available on line that were all under $30. I did not find any 2017 and some of the wine critics have said that was their best vintage so it appears to have pretty much sold out. The 2020 Langoa Barton sells for about $45 and the Leoville Barton sells for about $90. Both totally sell out at those prices and are excellent wines. But I just got a case of the 2020 for $22 a bottle and I have not found any Bordeaux close to that price that is as good as the Chateau Mauvesin.
Terroir
Part of the soil is clay-gravel, perfectly adapted for the development of Cabernet-Franc and Merlot. Another part is made up of fine gravel and gritty sand, allowing the Cabernet Sauvignon to reach full ripeness. The 48 hectare is currently planted with 45% Cabernet Sauvignon, 40% Merlot, 10% Cabernet Franc and 5% Petit Verdot. As mentioned above, the vines were in very poor shape when the estate was purchased. Between the time needed to get the different plots back to the standard that the Barton family has for their vines and the geographic variances that impact each harvest, the blend of Mauvesin Barton has varied considerably as shown in the table below.
| Year | Cabernet Sauvignon | Merlot | Cabernet Franc | Petit Verdot |
| 2105 | 38% | 42% | 16% | 4% |
| 2016 | 28% | 47% | 18% | 7% |
| 2017 | 40% | 54% | 6% | |
| 2018 | 40% | 54% | 6% | |
| 2019 | 27% | 64% | 9% | |
| 2020 | 59% | 38% | 6% | |
| 2021 | 52% | 48% | ||
| Current acreage | 45% | 40% | 10% | 5% |
Even though this is a Left Bank wine, from the 2015 to the 2019 vintage it had a higher percentage of Merlot than Cabernet Sauvignon, with a peak of 64% Merlot in the 2019 wine. While 5% of their acreage is Petit Verdot, the last 5 vintages have not used any juice from those grapes and the percentage of Cabernet Franc also appears to be decreasing. Doing a vertical tasting with these different percentages could be very interesting.
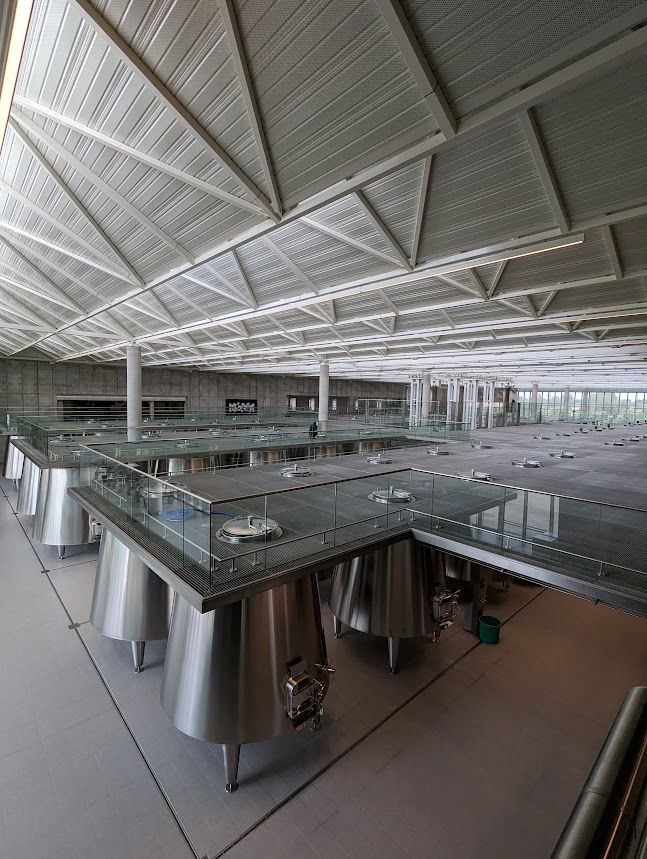
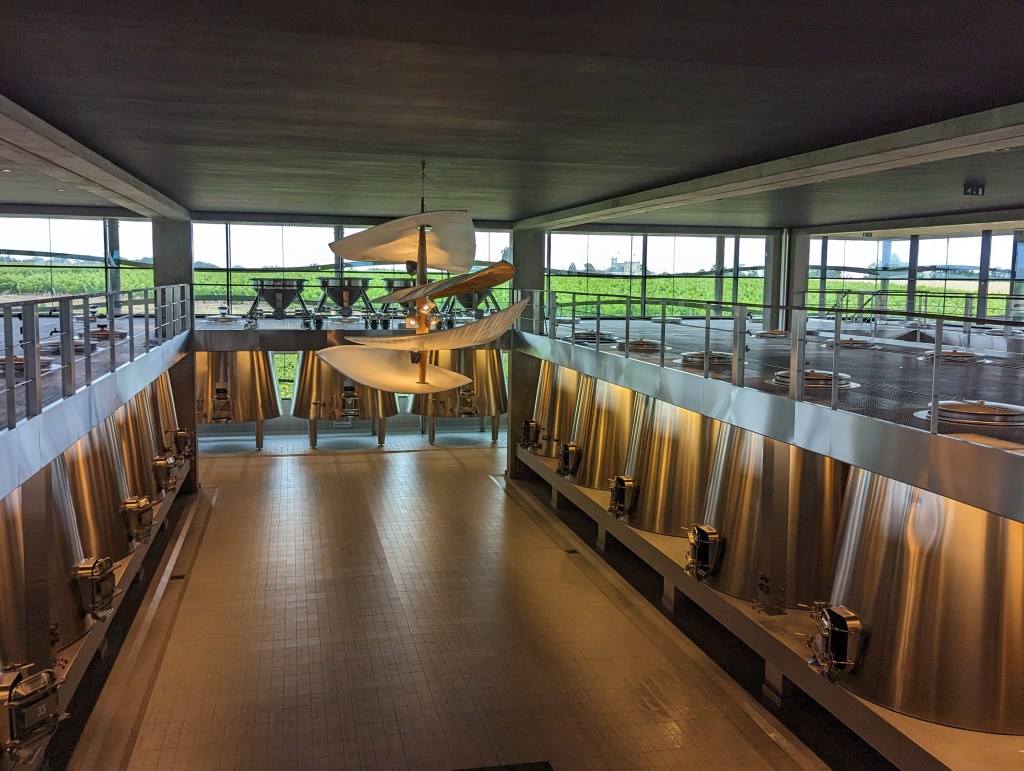
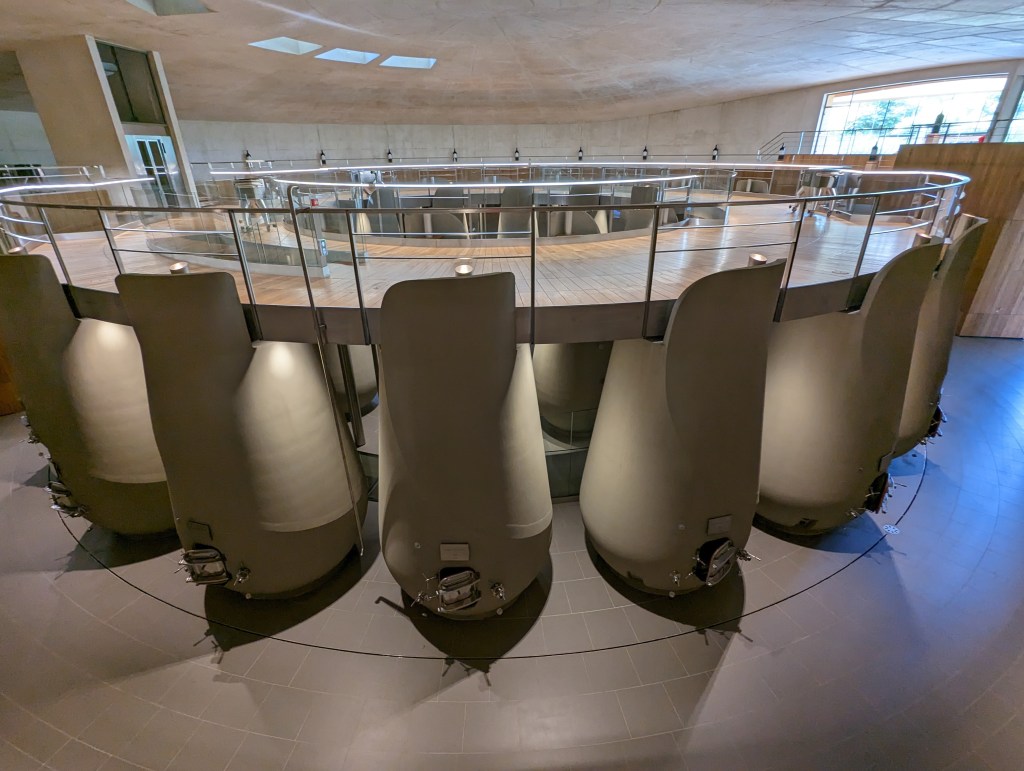
Vinification

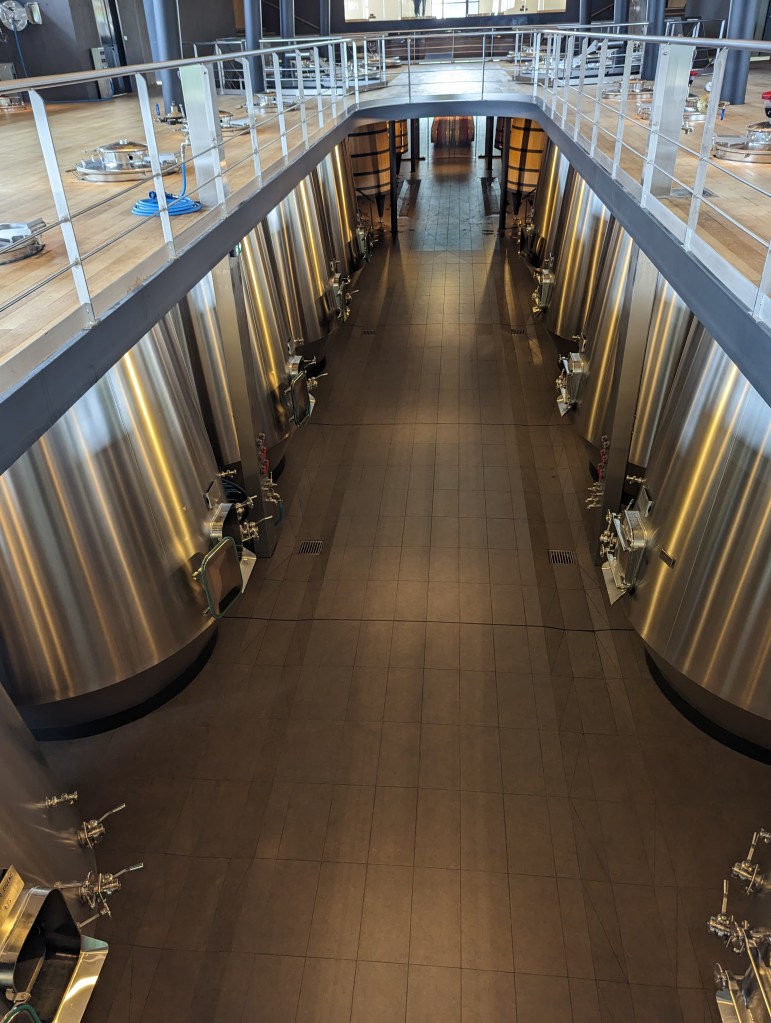
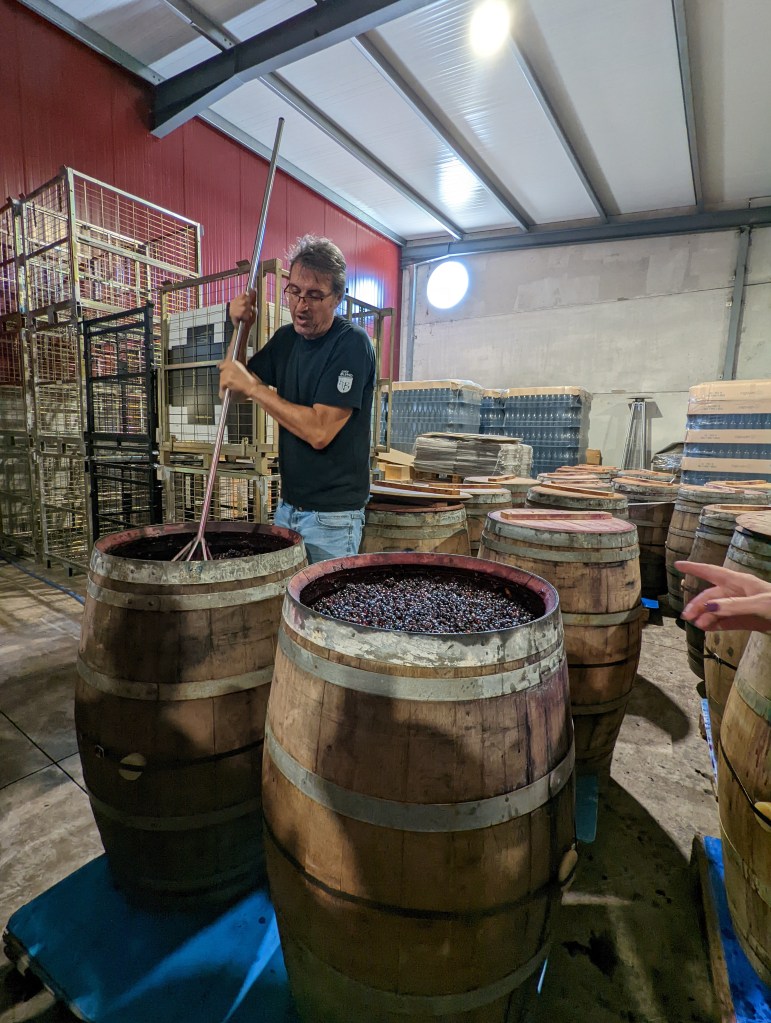
During harvest time at Château Mauvesin Barton, the selected hand harvested grapes are brought into the vinification cellar, shown in the picture, for the fermentation and maceration phase. It comprises 24 temperature-controlled stainless-steel vats of different volumes. This means each plot can be vinified separately, allowing greater freedom and precision when choices are made for blending. This vat room has also been equipped with an upper floor to enable reception and manipulation of the harvest by gravity, something all the Barton estates do to improve quality. The alcoholic fermentation lasts from 7 to 10 days.
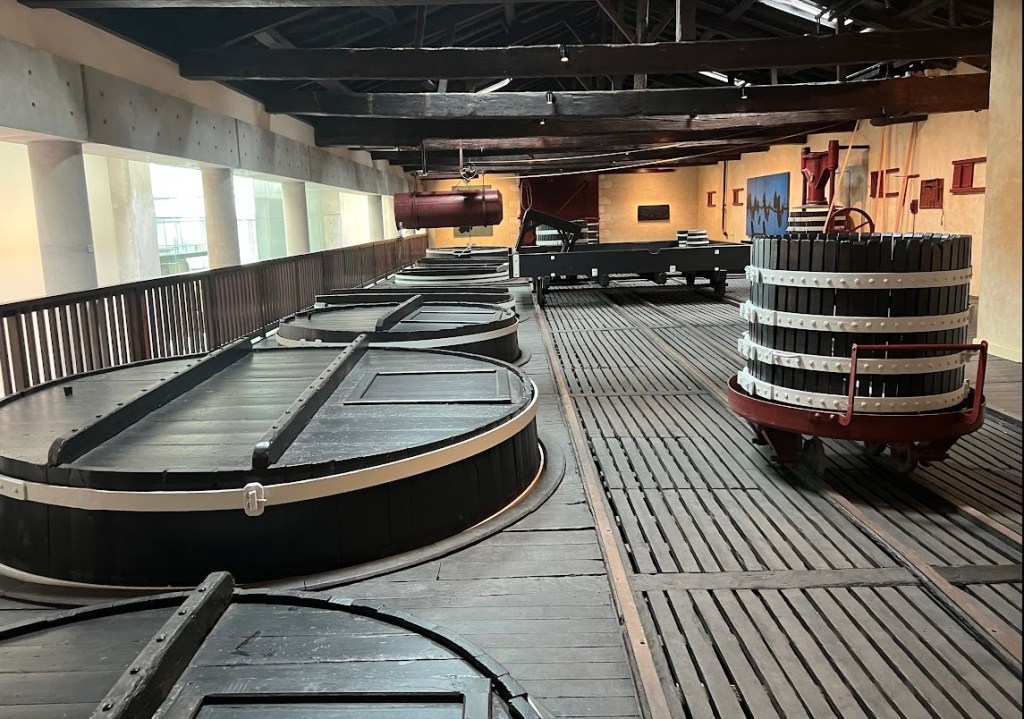
The next stage is maceration of the juice with the grape skins for about 3 weeks. When the maceration is finished, the wine is filtered out from the skins and transferred to French oak barrels for the ageing process: one third in new barrels made by three different cooperages, one third in barrels having already aged one vintage, and one third in used barrels coming from Château Léoville Barton.
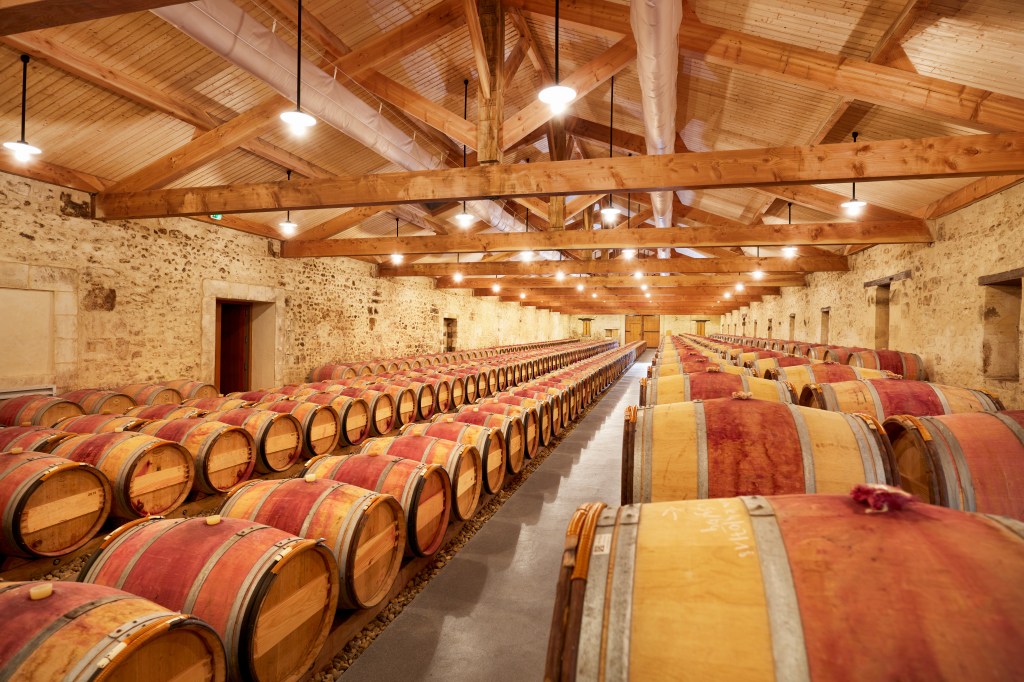
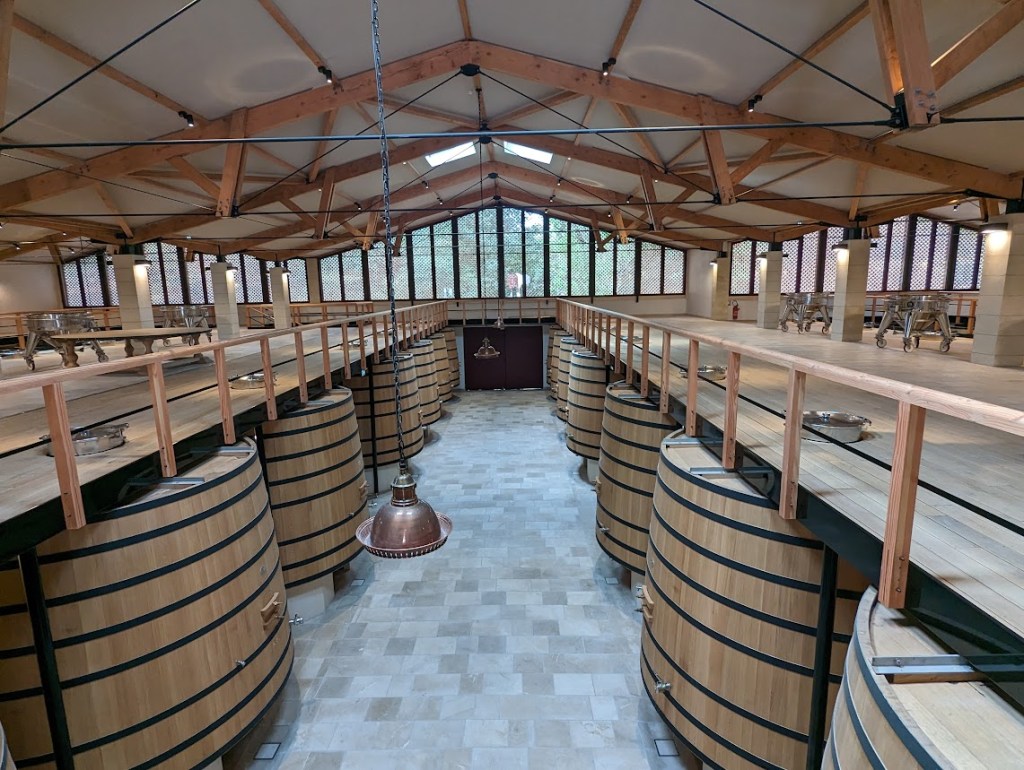
The barrel ageing lasts between 12 and 15 months. The barrels are placed in the two ageing cellars at Château Mauvesin Barton. The first cellar is the result of the restoration of the previous vat room, now a spacious area made of stone and wood. The second ageing cellar, shown in the picture, was constructed on the site of the historic cellar and is around 50 meters long, allowing it to house up to 500 barrels on a bed of gravel designed to regulate humidity.
Tasting Notes
The 2020 vintage is now in the stores. It was bottled in 2019 after the barrel aging process discussed above. The shipping process generally adds about another year, so the 2020 wine that rectntly hit the shelves is approaching three years of age. Because that wine has recently gone through transit in trucks and ships, I would give it at least a month resting in the cellar before opening it and I plan to leave the case I just bought unopened until October of 2024. At 3 years you can drink it and decanting it for a couple of hours is recommended to let it open. It really starts to show its full character after 5 years. Last night I had a bottle of the 2018 that I opened at 2:30 and left standing in my wine fridge. At 6:30 I decanted it and let it sit on the counter for 45 minutes to get up to 60° F. At that temperature and with that time to breathe, it was fantastic. The Chateau Mauvesin Barton web site calls out that the wine should be served at 60and if you serve it at room temperature, you will lose a great deal of its character. These wines will keep for at least 10 years. I am willing to take bets that in 2030 the case that I just purchased will be gone and have left some happy memories.
Tasting notes from the web site for two recent vintages for those of you who really like the details on different aromas and tastes. One of the reasons we really like this wine is integrated delicate tannins and long lovely finish.
- 2020 – Bright ruby color. Nose revealing notes of wild strawberries, toasted bread with a hint of delicate vanilla. The wine is harmonious and well balanced. The tannins are already well integrated, the wine is supple and leaves a nice finish in the mouth.
- 2018 – Ruby color, nose of toasted hazelnut and red fruits (cherry, blueberry). Delicate tannins. Wine with balance and finesse. Fresh, almost minty finish. Nice length and drinkability.
If you plan to visit Bordeaux, Chateau Mauvesin Barton welcomes visitors and offers a Discovery Tour and a Barrel Tasting Tour, each an hour long. The First Growth chateaus are overwhelmed with visitor requests and almost impossible to get into. There are many tour options where they have established relationships at different chateaus and you can see which ones they will take you to and the price for their tour. If you want to do it yourself, I do recommend visiting this chateau and I strongly recommend that you have a car and driver as the laws for driving under the influence are must stricter and the penalties much more severe in Europe.
I will be doing some other posts on other chateaus that are owned by a classified growth chateau and have wines that I think are great quality and best buy prices. Chateau Mauvesin Barton is first on my list of these wines, so I used them in my first post on these vineyards.
Comments and Questions are always welcome.


You must be logged in to post a comment.